PWA and Web Push API Blog Series
- Introduction
- Subscriber (this post)
- Application Server
- Pushing Messages
Progressive Web Apps and Web Push API - Subscriber
In my previous post, we briefly touched upon Progressive Web Apps (PWAs) and the main components of which they consist; the app shell and service worker. In this post, we’ll cover setting up these components so that we have a client that can subscribe to push notifications.
There’s a lot of content on the web describing how to set up the components to a PWA and one example of which is Google’s Progressive Web Apps Training. Since this blog series is focused on implementing push notifications in a PWA we’ll use the demo in Google’s Introduction to Push Notifications Lab as a jump-start. This lab has an app shell and service worker already built and ready for us to leverage. I pulled out the important steps from the setup and push notifications lab instructions found in this Google training so you can get up and running with this demo quickly.
Set Up the Subscriber
The following steps will help you set up a PWA using the Google Push Notifications lab project:
These steps are an adaptation from Google’s Setting Up the Labs and the Push Notifications lab steps
This assumes you’re already up and running with Node.js on your machine
-
Install
http-servergloballynpm i -g http-server -
Clone the Google Labs repository and change to that directory
git clone https://github.com/google-developer-training/pwa-training-labs.git cd pwa-training-labs -
Run the labs project with
http-serverhttp-server -p 8080 -a localhost -c 0 -
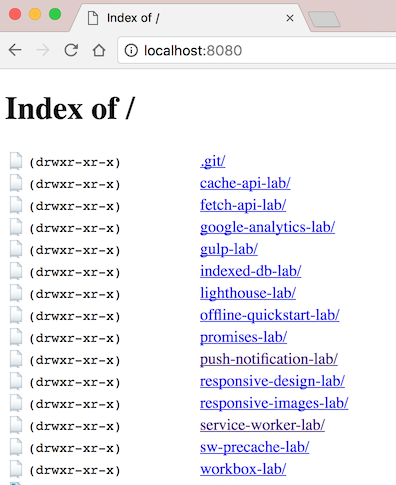
Open up your browser to http://localhost:8080 and you should see something like the following:

-
Click the
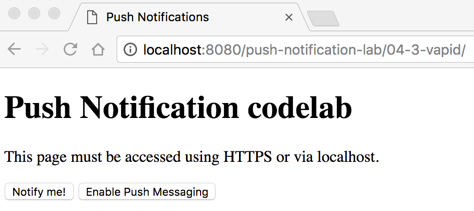
push-notification-lablink, then the04-3-vapidlink and you should now be viewing the running Push Notification code lab in your browser
What is All This?
We now have a PWA client that will act as the subscriber to our push notifications. The Google lab provides this (almost) complete version of a PWA that’s ready to leverage the Web Push API using the Voluntary Application Server Identification for Web Push protocol (VAPID). Now that’s a mouthful but think of it as a way to securely identify and connect the subscribers, push service and application server.
Using the VAPID protocol allows us to avoid having to create any kind of account with a cloud provider and register our application with it. Instead, we’ll build our own Node.js application server that implements this protocol and securely connect it to the PWA we started in this post. All of that is covered in the next blog post.